On an Email Pro plan, you set up forwarding, aliases and extra storage for each mailbox in the Client Area. Log in to the Client Area, go to Services > My Services, open your Email Pro service and click Manage Email Accounts. Then use the icons on the mailbox's row. See Email Pro Control Panel: Creating and Managing Email Accounts for what each icon does.
Forward a mailbox's email
- Click the Forward Email icon (an arrow coming out of a box) next to the mailbox.
- In Forward mails to address, type the address to forward to. Add more addresses on new lines or separated by commas.
- Click Add.
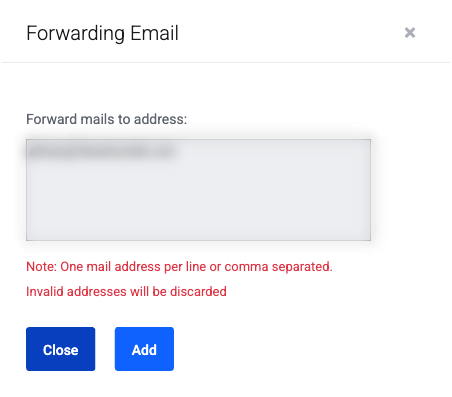
The box lists any addresses already set up. Invalid addresses are dropped. To stop forwarding, remove the address from the list and click Add again.
Add email aliases
An alias is an extra address that delivers to an existing mailbox. For example, [email protected] can deliver to Jane's mailbox.
- Click the @ icon (Email Alias) next to the mailbox that should receive the mail.
- Type the alias addresses, one per line or separated by commas. They must end with one of your domains (the box on the right shows which).
- Leave Tick to enable alias ticked and click Add.
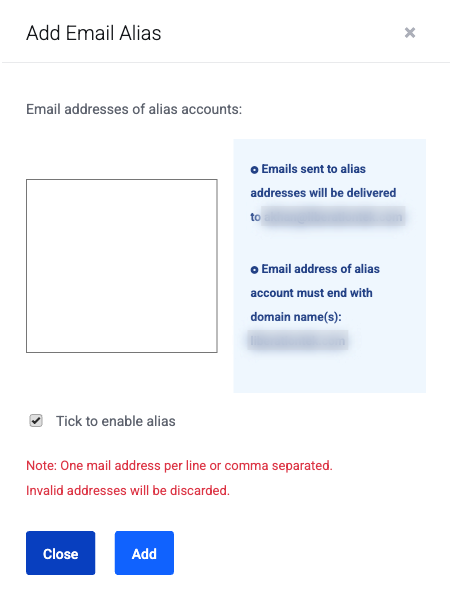
To send from an alias in the webmail, add it as an identity. See How to Switch Between Identities.
Add more storage to a mailbox
You can add storage to a mailbox in 1 GB steps. The quota column in Manage Email Accounts shows how much each mailbox is using.
- Click the up arrow (Upgrade Quota) next to the mailbox.
- Enter how many GB to add. The window shows the price.
- Click Upgrade.
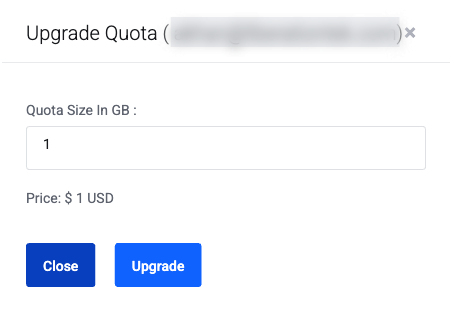
Extra storage is a monthly charge added to your Email Pro plan, not a one-time fee. For current prices, see Available Licenses & Addons in the Client Area.
Related
- Email Pro Control Panel: Managing Your Domains (catch-all addresses and domain aliases)
- Email Pro Control Panel: Creating and Managing Email Accounts