The Zone Editor in cPanel lets you change DNS records for domains on your hosting account.
Check first: Zone Editor changes only work if your domain uses your hosting server’s DNS. If your domain uses our standard nameservers (dns1, dns2 and dns3.liberationtek.com), manage records in the Client Area instead: see Managing Your DNS Records. If it uses Cloudflare or another provider, make changes there.
- Log in to the Client Area, go to Services > My Services and open your hosting service.
- Click Log in to cPanel in the menu on the left.
- In cPanel, click Zone Editor. You can also type its name into the Search Tools box at the top.
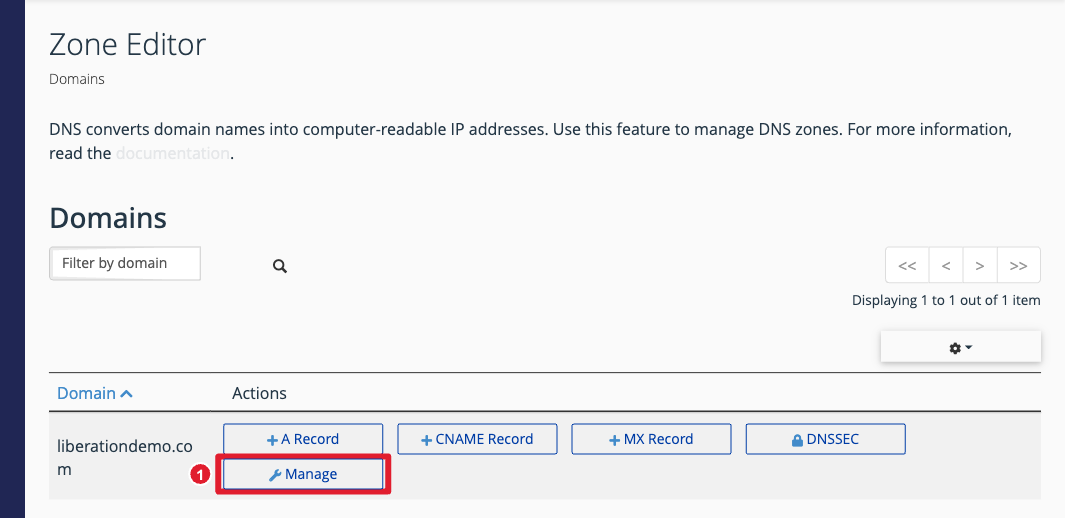
(1) Manage all records for the domain
Add a record
- For the most common records, click + A Record, + CNAME Record or + MX Record next to the domain, fill in the name and value, and click Add.
- For any other type (TXT, SRV, CAA and so on), click Manage, then + Add Record, choose the type, fill in the fields and click Save Record.
Change or delete a record
Click Manage, find the record (use the filter buttons at the top to show one type), then click Edit or Delete.
For what each record type does, and the records Liberation Email needs, see Managing Your DNS Records and DNS Records Needed for Liberation Email and Hub for Teams. Changes can take up to a few hours to be seen everywhere.