To set up Apple Mail with Hub for Teams, please follow the step-by-step instructions below.
Note that the setup process may vary slightly from what is shown here, depending on the version of macOS and Apple Mail you are using. The screen shots here are from Apple Mail v 10.2.
Note: There is more than one place in macOS where you can set up Internet accounts. Here we do the set up from within Apple Mail itself because the other options required are only shown when setting it up this way.
1. Getting Started
If you haven’t already, start Apple Mail by using the Dock or the Applications folder on your computer.
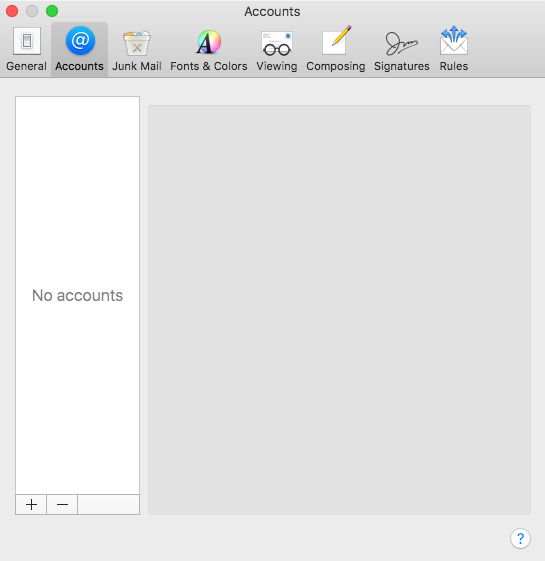
Click Mail and then Preferences from the main menu of Apple Mail. This will bring up a preferences screen where you should then select the Accounts tab.
Near the bottom of the screen there are + and – buttons, click on + to add a new account.
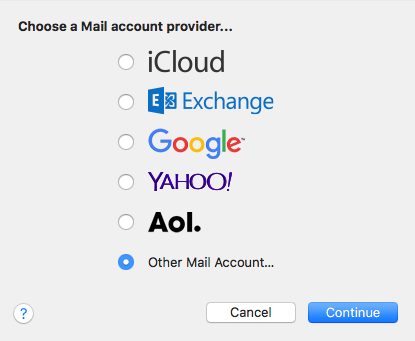
You will be shown the screen below:
Choose Add Other Mail Account…
2. Enter your personal details
Enter your name, primary email address, and your password in the corresponding fields.

When you click Create you will be told the account needs to be manually configured.
3. Enter the incoming and outgoing server details

Complete the fields that are empty.
Incoming Mail Server (IMAP): mail.liberation.email
Outgoing Mail Server (SMTP): mail.liberation.email
Username: your primary email address (aliases cannot be used to log in)
When you are done click Sign In.
4. Choosing Mail and Notes
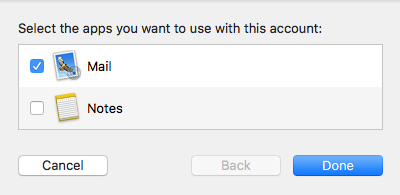
After you have successfully signed in you will be given the choice to use your account for Mail, Notes or both.
If you are just setting up Apple Mail and are not interested in Notes then deselect the Notes option. Hub for Teams offers limited* support for the Notes app in macOS so you may use this option if you wish.
*The macOS Notes app is able to use an IMAP account like Hub for Teams to store notes in your Inbox as emails. This works fine, but does not offer the same level of functionality as Notes can provide when used with Apple’s iCloud service.
5. Select standard folders on the server
In order to store Drafts, Sent, and Trash messages on the server using the Hub for Teams default folders for these you will need to tell Apple Mail which folders to use.
Click on the Mailbox Behaviors tab.

Change the Apple Mail default settings by choosing the correct folder on the server. In particular pay attention to the Sent and Trash mailbox settings that are often set up to use a different name when compared to the name we give them on our servers.
Apple Mail is now setup to use with Hub for Teams.


