Dynamic DNS keeps a subdomain, such as office.yourdomain.com, pointed at a network whose public IP address changes, for example a home or office internet connection. A device on that network calls a special URL to update the address automatically.
Important: Dynamic DNS only works if your domain's DNS is hosted on your cPanel server. If your domain uses dns1/dns2/dns3.liberationtek.com, manage records in the Client Area instead (see Managing Your DNS Records) and open a support ticket if you need Dynamic DNS.
- Log in to the Client Area, go to Services > My Services and open your hosting service.
- Click Log in to cPanel in the menu on the left.
- In cPanel, click Dynamic DNS. You can also type its name into the Search Tools box at the top.
- Click Create.
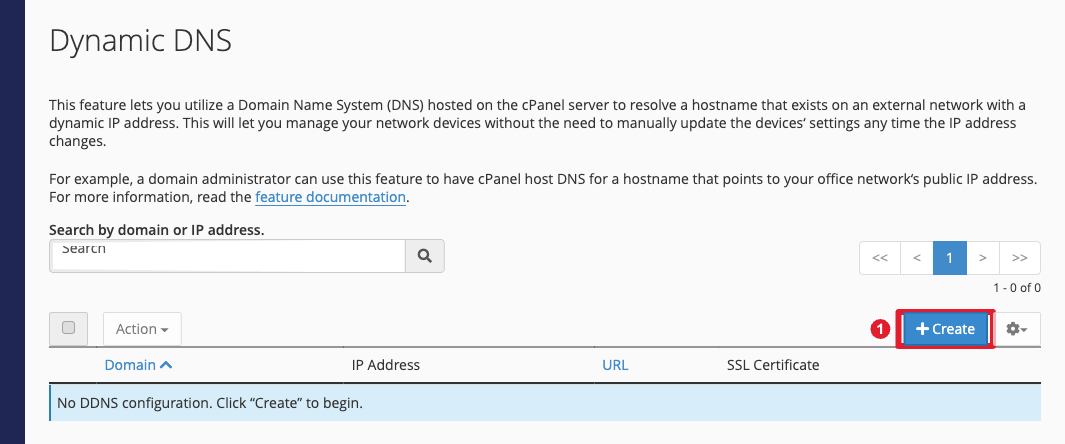
(1) Create a new Dynamic DNS hostname
- Enter the subdomain and choose the domain.
- Optionally add a description, then click Create.
- Copy the webcall URL that appears. Set your router, NAS or a scheduled script on a computer in that network to open this URL regularly. Each call updates the hostname to the network's current IP address.
Tip: Treat the webcall URL like a password: anyone who has it can change where the hostname points. If it leaks, delete the entry and create a new one.